 I find I am in need of some new mug-rugs, but I don't want them as big as regular mug-rugs. Yet not as small as coasters. Lets make them 6 1/2 inches square. The fabric will be small left overs from a quilt that I had made. You have to love scraps, I do. The wonky star is one of my favorites, because it doesn't have to be perfect. The wonky star can be made in lots of different sizes, so you can make what ever size you want.
MATERIALS LIST:
1- 6 1/2 inch square for backing
1- 6 1/2 inch square batting
8- 2 1/2 inch squares for back ground
1- 2 1/2 inch square for center
1- 2 inches by 28 inches for binding
8- 3 inches by 2 inches for star points
Press all materials before you cut. Cut materials to sizes above, I used a rotary cutter.
I like to lay my 2 1/2 squares out, with the center one in the middle. All eight 2 1/2 back ground squares around it. It keeps me more coordinated.

 |
| Add caption |
Now lets sew.
1. Lay one of the 3 inches by 2 inches material, for the star point,
at a corner angle of one of the side squares, but don't go all the way to the top or you will lose your point.
Go down from the top more the a 1/4 inch. Now sew a 1/4 inch seam.
Fold star point over making sure it covers the corner, press, cut corner off even with your seam allowance.
2. Place another star point material over the opposite corner, making
 sure to over lap the bottom of the star. Sew 1/4 inch seam, check to
see the corners covered, press and cut corner off to match the seam
allowance. Do all four sides.
 3. Square all four side star points to 2 1/2 square.
 4. Lay the star out the way it should look. Sew the top row together, press seams to the out side.
Sew middle row together and press seams to the inside.
Sew bottom row together and press seams to the out side.
 5. Sew the top row to the middle row, press to the top (up). Sew the
top part to the bottom row, press to the bottom(down).
 6. Square the star to 6 inches or 6 1/4 inches. I squared 6 inches.
 7. Lay your 6 1/2 square backing right side facing down, lay 6 1/2 inch batting on top, last
lay your star on top facing out. Pin layers together.
 8. The binding: Use the 2 inches by 28 inch strip. Fold and press
one 2 inch end towards the wrong side ( ugly side). Place right side
of the fabric facing down, I start it in the middle of one of the sides.
sew a 1/4 inch seam stopping 1/4 inch away from the first corner and
stop and cut threads.
 9. Fold at a 90% angle,finger press.
 10. Fold it back on its self to mach the next side, do all 4 corner the
same. this will get you your miter corners.
 11. Before you get to your folded edge, cut the fabric so that you have 1/2 inch to over lap, sew last edge.
12. Fold binding over and press. Flip to back
side and press a 1/4 hem to the inside,
making sure to fold your miter corners.
I then hand stitch, with a blind stitch.
 It would have been better to make a double
binding, but I did not have enough fabric.
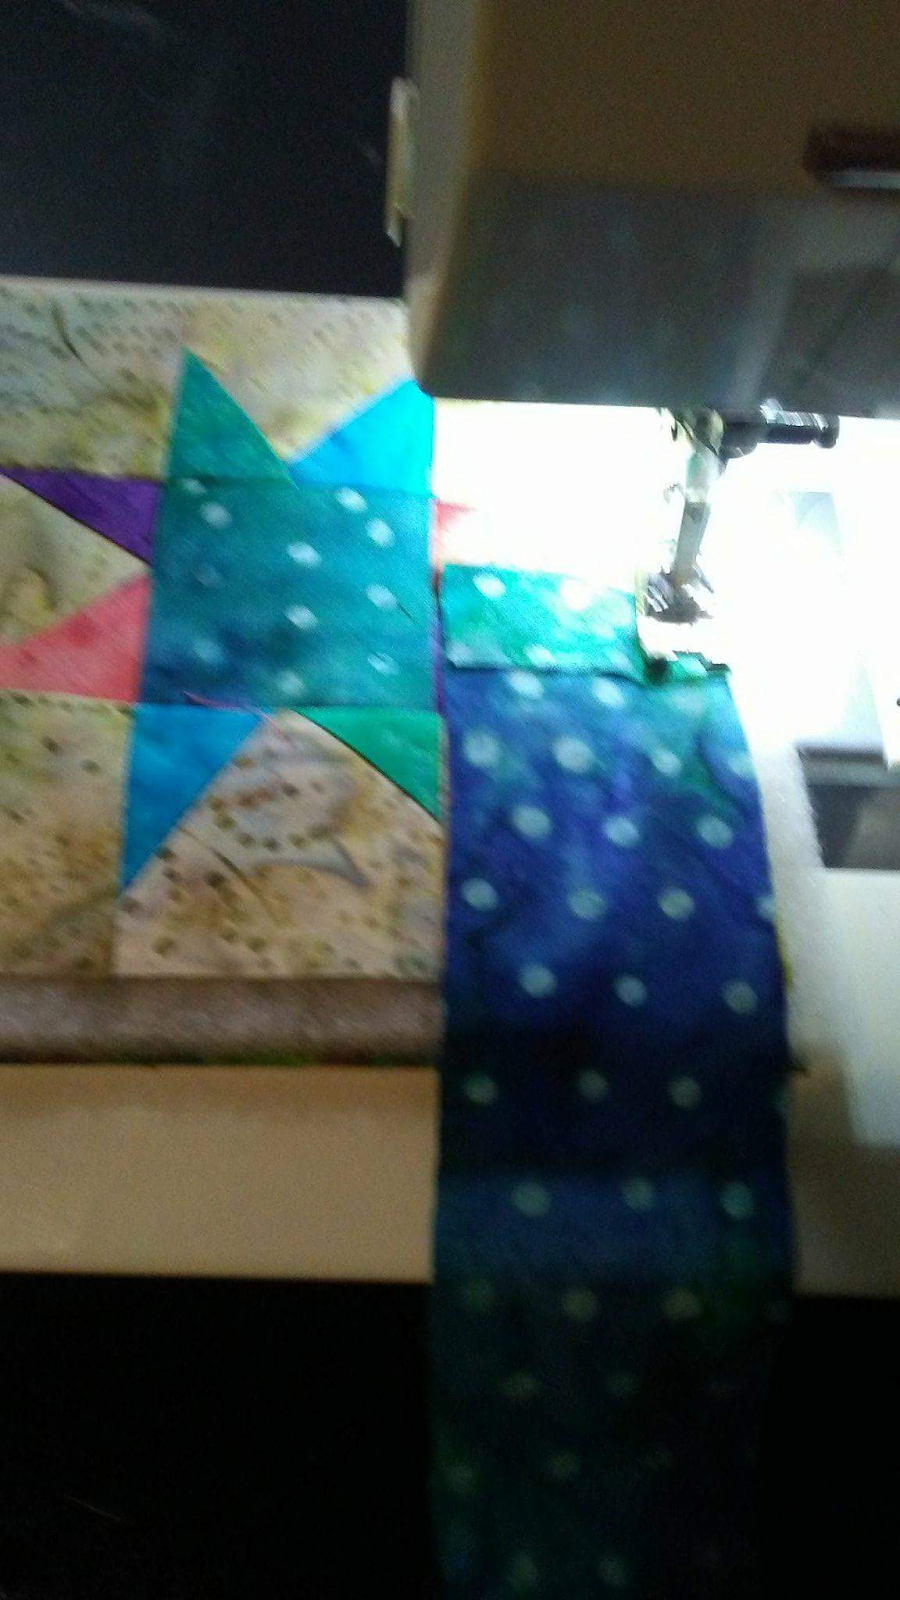
 13. Lastly I quilt it on the sewing machine. I just quilted loops. All done.
I had enough material to make 8.
I hope you liked this project as much as I enjoyed it. Please share your thoughts with me.


Sew middle row together and press seams to the inside.
Sew bottom row together and press seams to the out side.

top part to the bottom row, press to the bottom(down).


lay your star on top facing out. Pin layers together.
one 2 inch end towards the wrong side ( ugly side). Place right side
of the fabric facing down, I start it in the middle of one of the sides.
sew a 1/4 inch seam stopping 1/4 inch away from the first corner and
stop and cut threads.


same. this will get you your miter corners.

12. Fold binding over and press. Flip to back
side and press a 1/4 hem to the inside,
making sure to fold your miter corners.
I then hand stitch, with a blind stitch.

binding, but I did not have enough fabric.

I had enough material to make 8.
I hope you liked this project as much as I enjoyed it. Please share your thoughts with me.
No comments:
Post a Comment